I’ve seen these cute music walls all over the lockdown parenting groups and I kept just writing them off as something nice, but that I won’t ever own.
But then I suddenly thought – well why not? I’m a strong independent woman. My baby LOVES music. Why can’t I make him a music wall?
And so it began!
When it comes to Pinterest DIYs, I have all the best intentions but nothing ever comes out right – except for this! So I am fully of the mind that if I can do it, anyone can!

How I created a DIY Music Wall
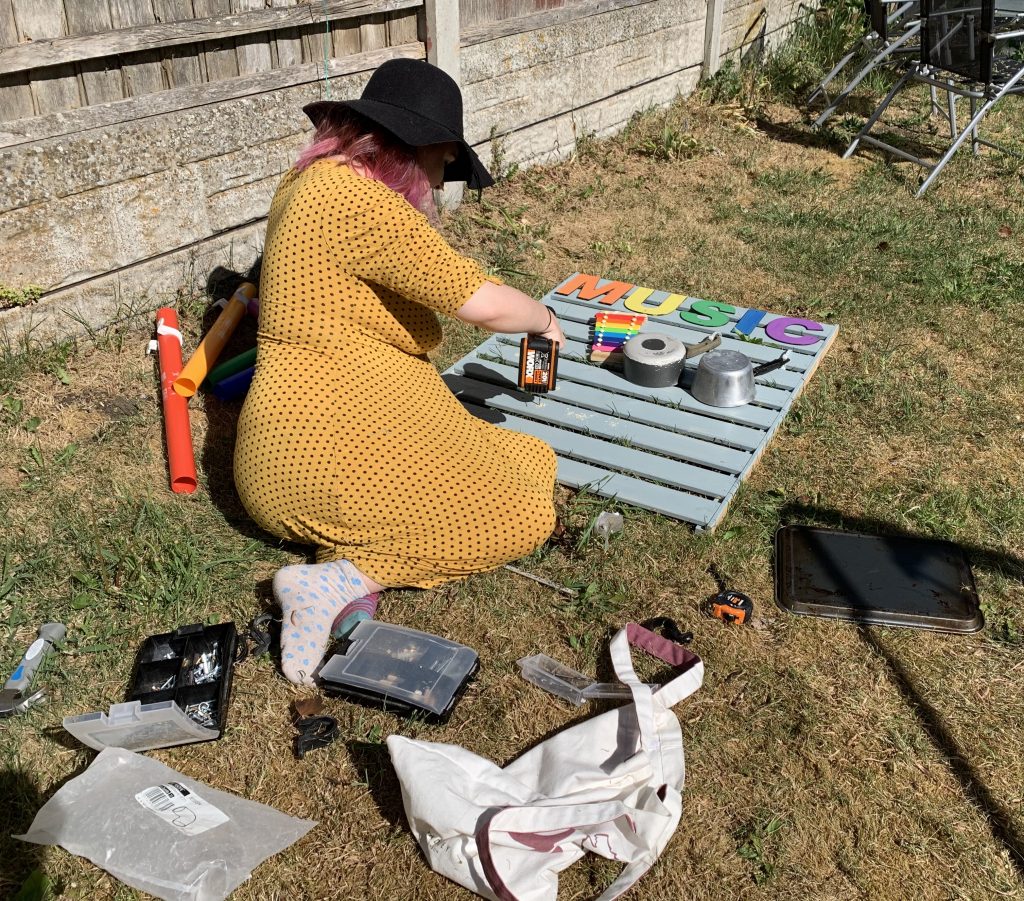
I started with these two random IKEA shelves that we had in the shed. I would have used a pallet but lockdown isn’t the time to be searching the local area for pallets, and this worked perfectly. The only bit of the DIY that Steven did, was attach the two bits together, and honestly that was only because it was raining and I was feeding the baby. I think you could use any old wood laying around and if you ask around, I’m sure someone will have something for you.
From there, I used some old wood paint that we had used to paint the cabin and shed. It’s waterproof, and just happens to be a lovely pastel colour, so I was chuffed.

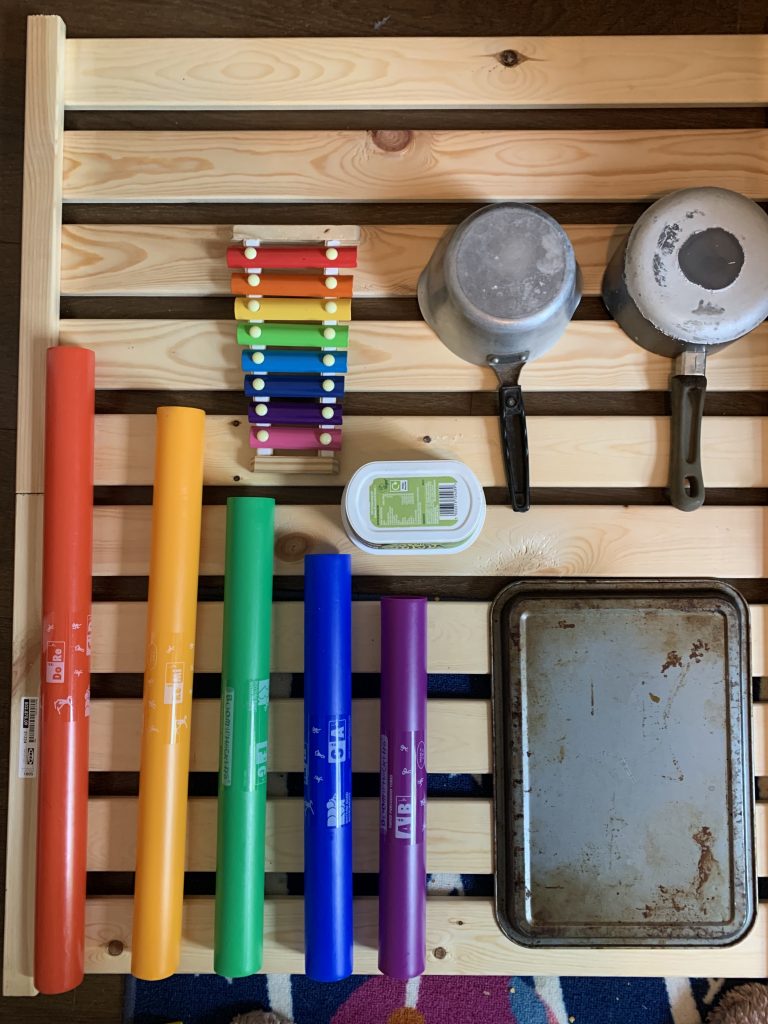
When it came to what I wanted to put on the board, the only things I bought were the letters, and the Boomwackers – both from eBay. The Boomwackers were less than £10 including postage which I was so happy about, and the letters were only a few quid each too (and I got one for free!), and I just painted them with some random kids paint that my MIL had lying around. It’s probably not as hard waring as the paint I used for the board itself, but I can always redo it. Annoyingly, the red had dried in the pot so I had to start the rainbow with orange – gutted! But I still think it has a nice effect.
The in-laws also donated 2 pans, we had some baking trays that we were throwing away (they’d gotten pretty icky) and Ruben has several xylophones, so I decided to add one of those to the board too. I was really determined not to spend too much on this, as it seems to go against the spirit of it, and it turns out I was able to do a lot of it without spending anything at all.

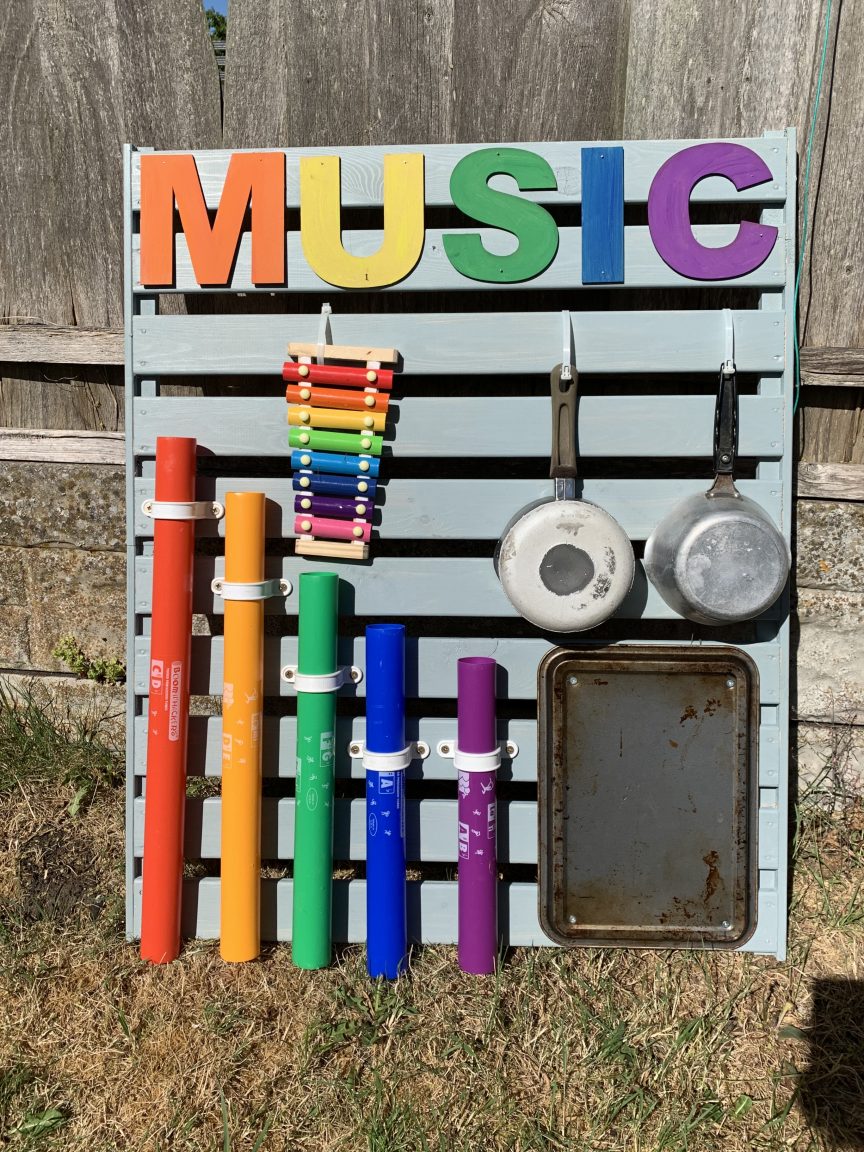
For the xylophone and pans, I just used strong cable ties to attach them. That means we can always rescue the xylophone if we need it, without any damage, and the pans have some movement to them.
I drilled the baking tray to the wood (and in the process managed to jam the drill bit on the drill! Needed WD40 to get it off – oops!) and used my FILs pipe attachment things (he is a retired plumber) to attache the boomwackers. I originally tried the cable ties for this but because they are vertical and the wood slats are horizontal, it made the pipes diagonal and just didn’t look right, so these pipe holders (which probably have a proper name but who knows?!) we’re perfect. I imagine they would only be a few quid at a hardware store if your FIL doesn’t happen to be an ex-plumber.
I used some little nails to tack the letters on, because I couldn’t find the wood glue and I was too impatient to finish to find it, but I don’t think you can notice them much and they’re nice and secure.

I’m so happy with how my music wall (I mean, Ruben’s music wall…!) came out! I think until we have a forever home I won’t attach it anywhere, I’ll just lean it against next doors wall (sorry Philip!). It’s the perfect height for Roo and hopefully something he can enjoy as he grows too. I might add a little wind chime to the side perhaps at some point – I love that it can be changed as we go along and bits added and removed without too much trouble.
The whole thing only took a few days, and that was only because I only did it when Ruben was napping, and had to wait for bits to arrive/paint to dry. If you didn’t paint it, and had all the stuff it could be done in an afternoon and doesn’t require any actual specific DIY skill (As much as I’d like to convince myself that I am a handy Goddess).
I’d love to see if you make one too! Tag me in your photos so I can marvel at your DIY music walls!


Comments
Pingback: 25 fun things to do in the garden with kids this Summer!
Pingback: Using SVG files for crafting - What are they and how do they work?
What are the tubes made out of? Love this!
They’re called Boom Wackers! I got them secondhand on eBay and they are a lot of fun!
Do the boomwhackers work fixed to the wall
Hi! They are detachable with the things holding them on, or they can be hit with sticks etc to make sounds 🙂
Great idea! You’ve inspired me to have a go too. What size pipe attachments did you use please?
Pingback: 100+ Fun Activities for Kids in 2024